3 Jul 2026
How to Send Group Greeting Cards
Sending an online greeting card is a quick and convenient way to let someone know you're thinking of them. Here's how to do it:
Creating a card
Selecting a cover
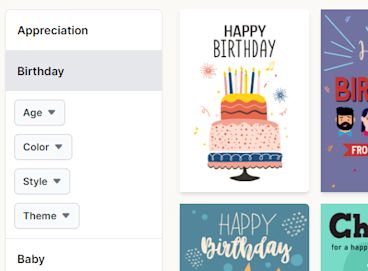
To begin creating a memorable greeting card, simply click the “Create a Card” button on our homepage. You will be taken to our cover browser where you may select the perfect design for your occasion. Use the drop downs on the left hand side to filter by theme, colour etc.
Recipient's details
You must specify your recipient's name and email address. For added peace of mind, you can add a second email address by clicking the " Add secondary email address" link. this is great for an office leaving when you also want the email to be delivered to their personal email address. You can also add your first signature / message here if you like. This will automatically appear in your card. Don't worry if you can't think of anything. You can edit and add many more later on.
Scheduling

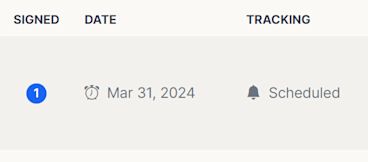
Planning ahead? Schedule your card to be delivered on the perfect day. Choose the date and time you’d like the card to be sent, and we’ll make sure it arrives right on time to spread the joy. You may specify this later if you like by toggling the switch.
Purchasing
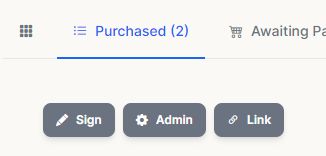
When you’re satisfied with your card’s design and provided all the relevant details, proceed to the basket page by clicking Save & Continue. On the next page, click “Secure Checkout”. Our secure payment process ensures that your purchase is safe and hassle-free. After completing the payment, your card will be all set for editing and it’s scheduled delivery. Once complete, your purchased card will appear in your account's "Purchased" tab.
Buying and spending credits
Purchasing credits
Card credits are a cost effective way to send multiple Happy Tree Cards. To purchase credits, click on the "Pricing & Bundles" link at the bottom of any page. From there you can choose one of our 5, 10 and 20 card bundles, offering increasing savings depending on how many cards you are looking to purchase. Once you have chosen your bundle, click "Buy Bundle" and you will be taken to our secure payment process. Your credits will appear in your account ready to spend.
Spending credits
To spend credits, simply add a card to your basket and click the "Spend Credit" button under the card. Once complete, your purchased card will appear in your account's "Purchased" tab.
Adding content to a card
Elevate your card with meaningful content. Add heartfelt text to express your emotions, insert images to capture memorable moments, and even include animations to make the card truly come alive.
Adding text
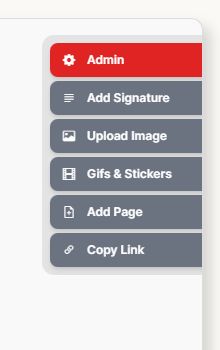
Click on "Add Signature" from the right hand menu attached to your card. A new text item will appear in a free space on the open page. Click on the text to begin editing. Your changes will automatically be saved as you type and are visible to others. You may resise, move and rotate the text item as you please using the controls attached to the text item.
Adding images
Click on "Upload Image" from the right hand menu attached to your card. A dialog will appear with an option to upload a PNG, JPEG or GIF image from your hard drive. Once you have selected one, click "Upload" to continue. Please allow a few seconds for your image to upload and our servers to verify the image. Once complete, your image will appear in a free space on the open page. You may move, resise and rotate your new image as you please using the attached controls.
Adding Gifs and Stickers
Click on "Gifs and Stickers" from the right hand menu attached to your card. A dialog will appear with a search box where you may search from our extensive library of animations. Once you have found the perfect animation, simply click on it and it will appear in a free space on the open page.
Deleting content
Click on the next to your text, image or Gif to remove it from your card. Note: You cannot undo this action.
Updating card settings
Accessing card settings
From any page, click on "Account & Cards" or "My Account" and you will be taken to your purchased cards. From there click on the Admin button for the card you would like to modify.
Updating delivery time
From your card's admin page, you may reschedule your card's delivery date & time. This must be at least 15 minuets in the future. Click on "Save & Continue" when you are done.
Updating delivery email address
From your card's admin page, you may update your recipient's primary and secondary email delivery address. Click on "Save & Continue" when you are done.
Changing editing permissions
On group cards, you may enable "Limited Editing" from your card's admin page. This prevents guests from modifying each other's content. You may disable this if you want to trust everybody with greater creative freedom! Click on "Save & Continue" when you are done.
Sending
Open Confirmations
We create a special link in the email we send to your card's recipient to track weather your card was opened. If your recipient was sent a link to the card through other means, the card may not show as "opened" in your account page.
Sending Immediately
From your card's admin page, click on "Send Immediately" to save any changes and send your card immediately. You will not be able to make any additional changes to the card once sent including adding additional content.
Handling bounces
If your card fails to deliver, you will receive an email message that your card delivery has failed. Click on the Admin button on your account page to update or correct your card's recipient email and click "Resend".